
As winter draws near, taking care of long-term RV Storage facilities can help you avoid the dreaded headaches and expensive repairs come spring. If you are looking for RV storage in Temple and Belton, TX, a reputable facility like Access I-35 Storage can provide you with options and peace of mind, especially with the right preparations.
To assist you with your preparations, here’s your ultimate winterizing checklist for your RV before you park it away in a great storage unit for vehicles near Temple and Belton, TX.
- Secure Storage for your RV
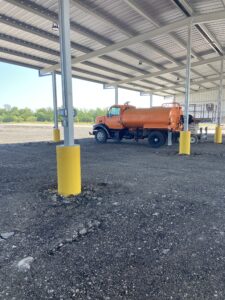
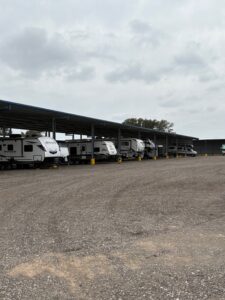
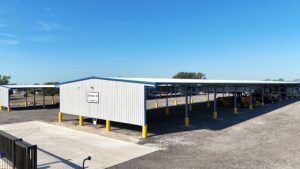
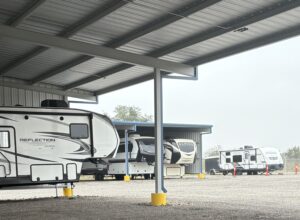
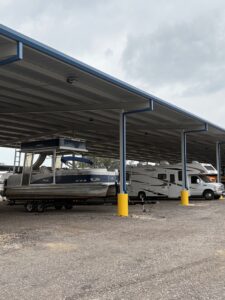
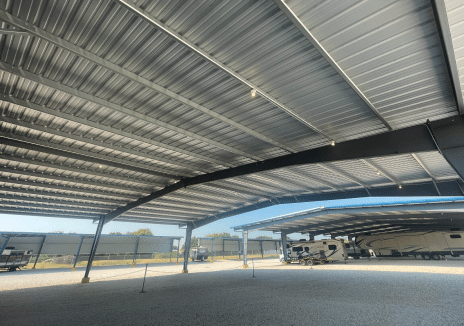
Selecting a facility that provides secure RV storage in Temple and Belton, TX Is the first step. Fortunately, there are facilities in that area that have gated access, video surveillance and secured outdoor parking or even covered parking specific for RVs. Access I-35 Storage is an example of a facility that has that kind of protected parking.
Once you’ve selected a well-secured facility, you will want to consider accessibility as well. There are also some facilities that offer drive-through spaces so you can easily park your RV in whatever strides matter to you before the winter.
- Do a Total Clean Inside and Out
Wash the outside of the RV to remove dirt and road salt, which can eat away at surfaces. Wax your RV for extra protection. For the inside, remove perishables and food, and vacuum out cabinets. Also open up drawers to let air into areas that may develop a mold.
- Service the Mechanical Systems
Change the oil and filters to reduce contamination. Add fuel stabilizer to a full tank of fuel and run the engine briefly to circulate it. Top off anti-freeze (engine and water systems) to avoid freeze damage.
- Preserve the Battery
If you detach and extract the battery, it might drain. So, remember to store it in a cool, dry area, and give it a charge every couple of weeks. Or if you so choose, you can leave it connected to a trickle charger. Many vehicle storage facility near Temple and Belton, TX, offer powered spaces to make this easy.
- Winterize Water and Drainage Systems
Drain your fresh, gray and black water tanks. Use RV-specific non toxic antifreeze for holding tanks and the water pump. Flush the toilets and be sure everything is clear, dry and protected.
- Tire & Exterior Maintenance
Make sure tires are inflated to the proper pressure to avoid the development of flat spots or you can use jack stands if it is going to be a long term storage option. Cover your tires and your RV with breathable, weatherproof covers to protect them from UV damage and debris.
- Seal and Rodent Proof RV
Check the seals, seams and vents for any cracks or gaps. If you identify any issues, add caulk or sealant. Cover vents and the exhaust pipe to seal off a food source for rodents or bugs. Remove or raise up any ground cover that might be really close to that storage to help deter-rodents.
- Final inspection
- You will want to ensure all doors, windows and compartments are closed and locked.
- Drop down the stabilizer jacks and level up your RV as necessary.
- Verify that propane valves are in the ‘off’ position and tanks are removed (if applicable).
- Record your mileage and grab a few images of the current condition for record keeping purposes.
Winterizing your RV can be a bit intimidating, but the only way to contend with winterizing is to perform some focused tasks including cleaning, draining and protecting for off-season. Overall, the ease of the process and peace of mind when you have a trusted, secure storage location like Access I-35 to know that your RV can be protected, secured and be ready-to-roll come spring is always an added advantage.
Use the checklist and have an easy off-season and contact Access I-35 to get your slot!